- | / Save up to % Save % Save up to Save Sale Sold out In stock
Free shipping on Continental USA orders $99+ | Need help? Email us at support@diywrapclub.com or text us at 423-529-2421 | Helping 200,000+ DIY installers since 2018. Shop Now
Please review these critical points to ensure a successful installation:
Surface temperature must be between 60-80°F (15-27°C)
Clean and degrease the surface thoroughly before application
Work in a dust-free environment to prevent contamination
Allow 24-48 hours for full adhesion before cleaning
Use proper tools that were provided/li>
1 Surface Preparation
Proper surface preparation is crucial for a successful installation.
Isopropyl alcohol (70% or higher)
Microfiber towels
Lint-free cleaning cloth
Slip solution (mix of water and baby shampoo)
Squeegee
2 Video Tutorials
Installation Video
Installation Guide
Installation Video
Installation Guide
Maintenance & Care
Cleaning Instructions
Hand wash with pH-neutral automotive soap
Avoid automatic car washes with brushes
Use soft microfiber towels for drying
Do not use abrasive cleaners or wax
Long-term Care
Park in shade when possible to prevent fading
Apply ceramic coating for added protection
Inspect edges regularly for lifting
Address damage immediately to prevent spreading
Common Issues & Solutions
Tips and Tricks for PPF Installation
Common issues and their solutions for DIY Paint Protection Film installation
⚠️
How to Remove Fingers (Wrinkles) in PPF
Fix wrinkles and stretch marks in your film
What are PPF Fingers? Wrinkles or bubbles that appear during installation when there's either too much or too little stretch in a particular area of the film. This is common with DIY cut-to-panel PPF kits.
1
Identify the Fingers
Look for areas where the film is not laying flat against the surface. These can appear as raised lines or bubbles.
2
Stretching Technique
If the fingers are due to insufficient stretch:
✓
Stretch the Film: Carefully lift the PPF around the wrinkled area and stretch it more to fit the panel properly
✓
Use Tack Solution: Spray tack solution under the fingers
✓
Squeegee Method: Use a squeegee along with a microfiber cloth to press down the fingers. Apply firm pressure and work out the wrinkles from the center outward, holding the squeegee in place for a moment to secure the film
3
Wrapping Around Edges
For fingers that appear when wrapping around edges:
✓
Apply Heat: Use a hair dryer or heat gun to gently heat the wrinkled area. Be cautious not to overheat, as this can damage the film
✓
Press Down: Once heated, carefully press the wrinkle down with your fingers or a squeegee to smooth it out
Video Tutorial: Wrapping Edges & Corners
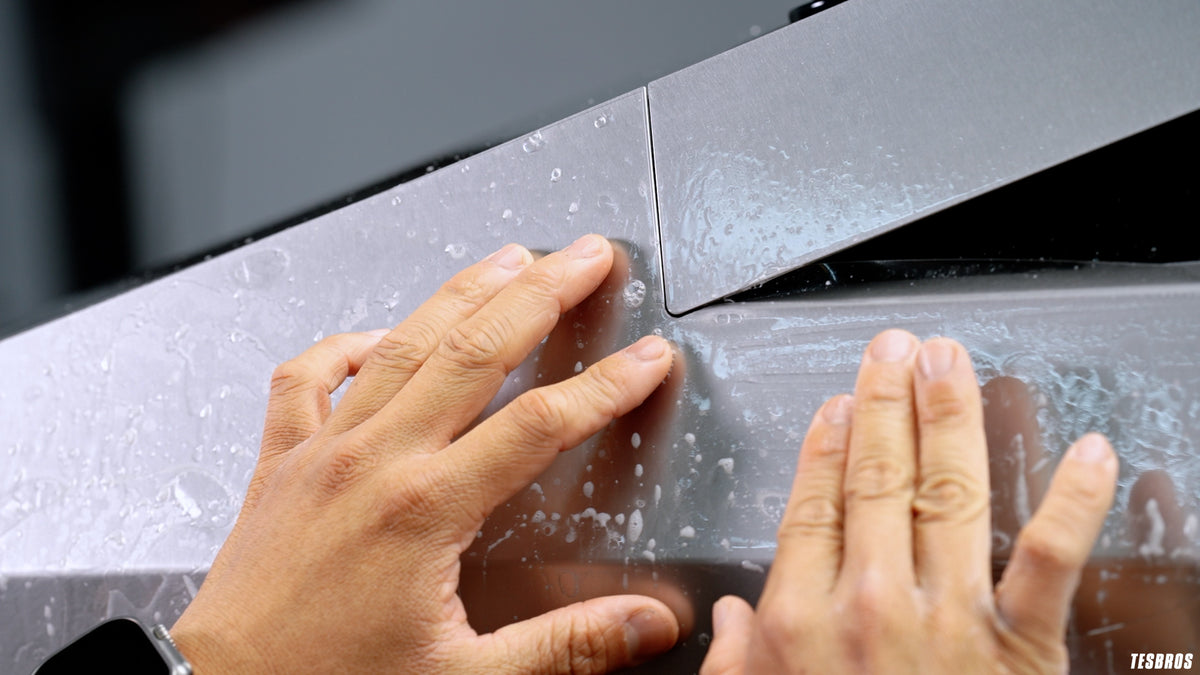
💧
How to Remove Bubbles in PPF
Eliminate air bubbles during and after installation
During Installation
✓
Overlap Squeegee Strokes: When squeegeeing, use overlapping strokes to ensure no bubbles are left behind
✓
Spray Slip Solution: If you find a bubble, spray slip solution and gently lift the PPF to release the trapped air. Squeegee the film back down, working from the center of the bubble outward
After Installation
✓
Wait and See: Some bubbles may dissipate on their own within 10-14 days
✓
Needle Technique: If bubbles don't disappear, use a diabetic needle to carefully poke the bubble at an angle (avoid pointing directly at the paint). Gently press down on the bubble until it disappears
Video Tutorial: Removing Bubbles
⚠️
How to Deal with Contamination Under PPF
Handle dirt, dust, and debris trapped under the film
Contamination under PPF, such as dirt, dust, or hair, can be problematic if not addressed early.
1
Ensure Proper Lighting
Good lighting is crucial. Set up multiple lamps in your workspace to catch any contaminants early in the installation process.
2
Clean the Panel
Before reapplying the film, spray the panel with slip solution and squeegee it clean to remove any remaining dirt or dust.
3
Lift and Clean Process
If you spot contamination:
✓
Lift the PPF: Carefully lift the film from the panel
✓
Spray Slip Solution: Generously spray slip solution under the lifted PPF to wash away contaminants
✓
Reapply: Once clean, carefully reposition and squeegee the film back into place